Фрезерование с подъемом и обычное фрезерование: Исчерпывающее руководство
В мире механической обработки выбор правильной стратегии фрезерования может сделать или разрушить успех вашего проекта. В этой области доминируют два основных подхода: фрезерование с подъемом и обычное фрезерование. Понимание их различий, областей применения и оптимальных сценариев использования имеет решающее значение для достижения превосходных результатов при выполнении операций обработки.
Если вы не хотите читать сложную статью, вы также можете ознакомиться с сравнительная таблица между ними.
Введение в методы фрезерования
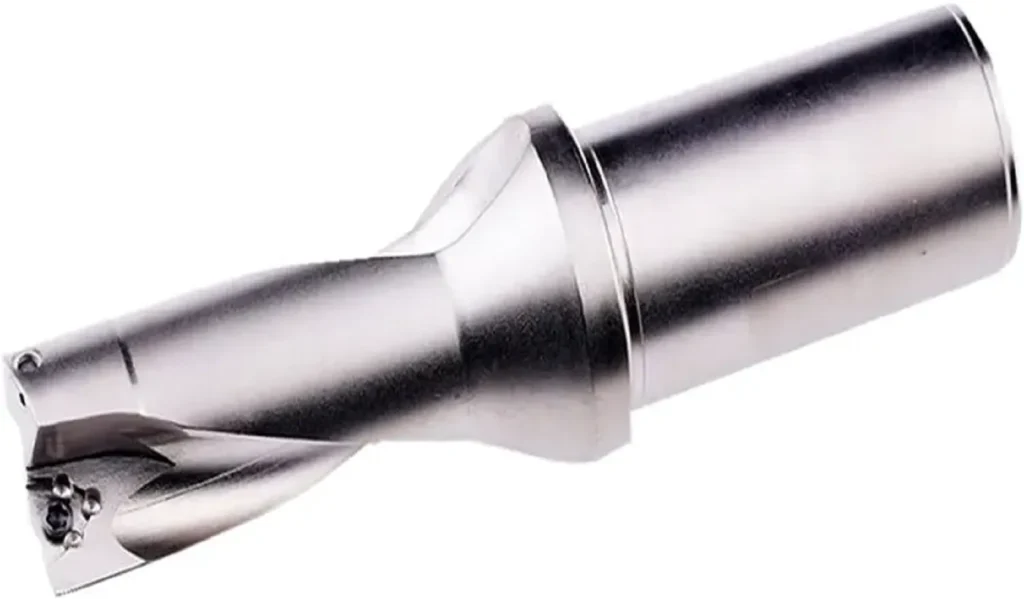
Фрезерование - это процесс обработки, при котором материал удаляется с помощью вращающихся режущих инструментов( таких как концевые фрезы Фрезерование, сменное фрезерование). Взаимосвязь между направлением вращения фрезы и направлением подачи заготовки определяет два различных метода фрезерования. Эти методы существенно влияют на качество обработки поверхности, срок службы инструмента, силы резания и общую эффективность обработки.
Разница между фрезерованием с подъемом и обычным фрезерованием заключается главным образом в направлении подачи относительно вращения фрезы. Это, казалось бы, простое изменение создает кардинально разную динамику резания, каждая из которых имеет свои преимущества и ограничения.
Что такое обычное фрезерование (фрезерование вверх)?
Обычное фрезерование, также известное как фрезерование вверх, происходит, когда заготовка подается против направления вращения фрезы. При этом методе режущая кромка начинается с нулевой толщины стружки и постепенно увеличивается до максимальной толщины по мере выхода из реза. Это создает восходящее режущее действие, которое стремится приподнять заготовку от стола станка.

Характеристики обычного фрезерования
Силы резания при обычном фрезеровании создают тяговое усилие на заготовку, направленное вверх и наружу. Это приводит к вибрации и дребезжанию заготовки, особенно при интенсивном резании. Первоначальный контакт между режущей кромкой и заготовкой включает в себя трение до начала резания, что может привести к закалке заготовки и повышенному износу инструмента.
Качество обработки поверхности при традиционном фрезеровании обычно более шероховатое по сравнению с фрезерованием с подъемом. В результате резания на обработанной поверхности остается слегка рваный след из-за образования стружки и подъемной силы.
Преимущества фрезерной обработки с верхним срезом
В чем преимущества фрезерования с верхней нарезкой? Традиционное фрезерование имеет ряд преимуществ, особенно для старых станков. Оно более щадящее для станков с люфтом в ведущих винтах, поскольку силы резания не притягивают заготовку к фрезе. Это делает его более безопасным для операций ручной обработки, где точный контроль может быть затруднен.
Традиционное фрезерование также предпочтительно для прерывистых резов и при обработке материалов, которые могут захватывать или тянуть во время резки. Постепенное зацепление режущей кромки обеспечивает более контролируемое вхождение в материал.
Недостатки фрезерования с верхним срезом
Каковы недостатки фрезерования с восходящим резом? К основным недостаткам относятся низкое качество обработки поверхности, повышенный износ инструмента из-за первоначального затирания и большие усилия резания, необходимые для поддержания реза. Силы резания, направленные вверх, могут вызвать подъем заготовки, что приводит к неточности размеров и потенциальной угрозе безопасности.
Вибрация и дребезжание, связанные с обычным фрезерованием, также могут сократить срок службы инструмента и создать неприемлемую чистоту поверхности в прецизионных областях применения.
Понимание восходящего фрезерования (нисходящего фрезерования)
Фрезерование с подъемом, или фрезерование вниз, происходит, когда заготовка подается в том же направлении, что и вращение фрезы. Режущая кромка сразу же входит в зацепление с максимальной толщиной стружки и уменьшается до нуля при выходе из реза. Это создает направленное вниз режущее действие, которое плотно прижимает заготовку к столу станка.

Характеристики фрезерования с подъемом
Силы резания при фрезеровании с подъемом прижимают заготовку к столу, создавая более стабильные условия резания. Немедленное полное зацепление режущей кромки устраняет трение, характерное для обычного фрезерования, что обеспечивает более чистые срезы и продлевает срок службы инструмента.
Качество обработки поверхности значительно выше при фрезеровании с подъемом благодаря плавному резанию и способу образования и удаления стружки из зоны резания.
Преимущества фрезерования по контуру
Почему при обработке выбирают фрезерование с подъемом или с опусканием? Основные причины - превосходное качество обработки поверхности, увеличенный срок службы инструмента, снижение силы резания и повышение точности размеров. Сила зажима, направленная вниз, создает более стабильные условия резания, уменьшая вибрацию и дребезг.
Фрезерование с подъемом также обеспечивает лучший отвод стружки, так как стружка направляется в сторону от готовой поверхности. Это предотвращает повторное срезание стружки и снижает вероятность появления царапин и повреждений на поверхности.
Недостатки фрезерной обработки
Основным ограничением фрезерования с подъемом является требование к жестким станкам с минимальным люфтом. На станках с изношенными ведущими винтами или чрезмерным люфтом, фрезерование с подъемом может привести к втягиванию заготовки во фрезу, что может стать причиной поломки инструмента или повреждения заготовки.
Сравнительная характеристика: что лучше, клинч или обычное фрезерование?
Вопрос о том, что лучше - скалолазание или традиционное фрезерование, - полностью зависит от ваших конкретных требований и возможностей станка.
Качество отделки поверхности
Благодаря плавному резанию и правильному формированию стружки при фрезеровании с нарезанием по окружности получаются превосходные поверхности. Обычное фрезерование обычно приводит к шероховатым поверхностям, требующим дополнительных финишных операций.
Срок службы инструмента
Фрезерование с подъемом, как правило, увеличивает срок службы инструмента за счет устранения первоначального трения и более эффективного резания. Немедленное полное зацепление снижает износ инструмента и тепловыделение.
Силы резания
Хотя оба метода создают силы резания, силы зажима при фрезеровании с подъемом вниз обычно более благоприятны для стабильности заготовки. Силы, действующие при обычном фрезеровании вверх, могут вызвать смещение заготовки и изменение ее размеров.
Требования к оборудованию
Обычное фрезерование более щадящее для старых станков с люфтами, в то время как для оптимальных результатов требуется жесткое, хорошо обслуживаемое оборудование.
Когда использовать каждый метод
Когда использовать Climb Cut
Когда использовать фрезерование с подъемом? Фрезерование с подъемом предпочтительно для финишных операций, прецизионной обработки и при работе с современными станками с ЧПУ. Оно идеально подходит для достижения жестких допусков и превосходной отделки поверхности.
Фрезерование с подъемом по сравнению с обычным фрезерованием алюминия обычно предпочтительнее из-за склонности алюминия к свариванию с режущим инструментом. Чистое резание при фрезеровании с подъемом уменьшает образование наростов на кромке и обеспечивает лучшую чистоту поверхности алюминиевых деталей.
В каких случаях предпочтительнее использовать апмиллинг, а не даунмиллинг?
В каких случаях предпочтительнее использовать фрезерование вверх, а не вниз? Традиционное фрезерование выбирают при работе на старых станках, имеющих значительный люфт, при обработке прерывистых поверхностей или когда безопасность оператора является главной задачей при ручных операциях.
Его также предпочтительно использовать при черновой обработке, когда качество поверхности не столь важно, и при обработке материалов, склонных к захвату или вытягиванию во время резки.
Заключение
Понимание разницы между фрезерованием с подъемом и обычным фрезерованием необходимо для оптимизации операций обработки. Хотя фрезерование с подъемом обычно дает лучшие результаты с точки зрения качества обработки поверхности и срока службы инструмента, обычное фрезерование остается ценным для конкретных задач и ограничений станка.
Ключ к успеху заключается в подборе метода фрезерования в соответствии с вашими конкретными требованиями: возможностями станка, свойствами материала, требованиями к чистоте поверхности и эксплуатационными ограничениями. Принимая обоснованные решения о том, когда и как применять каждый метод, вы сможете добиться оптимальных результатов, максимально увеличив эффективность и срок службы инструмента.
В чем основное отличие скалолазания от обычного фрезерования?
Основное различие заключается в направлении подачи относительно вращения фрезы. При обычном фрезеровании подача осуществляется против вращения, а при скалолазании - с вращением.
Для чего лучше всего использовать традиционное фрезерование?
Традиционное фрезерование лучше всего подходит для старых станков с люфтами, прерывистыми резами и в ситуациях, когда предпочтительно постепенное зацепление инструмента.
Какой метод лучше для обработки алюминия?
Фрезерование с уклоном обычно предпочтительнее для алюминия благодаря чистоте резания и уменьшению образования наростов на кромке.
Почему стоит выбрать фрезерование с подъемом, а не обычное фрезерование?
Угловое фрезерование выбирают для получения превосходной чистоты поверхности, увеличения срока службы инструмента и повышения точности размеров на жестких станках.
Когда следует избегать фрезерования?
Избегайте фрезерования с подъемом на станках со значительным люфтом или если жесткость заготовки недостаточна для противодействия тянущим усилиям.
Сравнительная таблица
Сравнение фрезерования с обычным фрезерованием
| Аспект | Обычное фрезерование (фрезерование вверх) | Фрезерование с подъемом (фрезерование с опусканием) |
|---|---|---|
| ХАРАКТЕРИСТИКИ ПРОЦЕССА | ||
| Направление подачи | Против вращения фрезы | С вращением фрезы |
| Толщина стружки | От нуля до максимума (постепенное увеличение) | От максимума до нуля (постепенное снижение) |
| Силы резания | Вверх и наружу (подъем заготовки) | Вниз (зажим заготовки) |
| Вовлечение инструментов | Постепенное взаимодействие с первоначальным растиранием | Немедленное полное вовлечение |
| АДВАНТАЖИ | ||
| Отделка поверхности | Подходит для черновой обработки | Превосходное качество отделки |
| Срок службы инструмента | Стандартный срок службы инструмента | Увеличенный срок службы инструмента (20-50% дольше) |
| Требования к оборудованию | Работает на станках с люфтом | Требуются жесткие, точные машины |
| Безопасность | Безопаснее для ручных операций | Требуется тщательная настройка |
| Контроль вибрации | Больше вибраций и дребезжания | Более гладкая резка, меньше вибраций |
| ОТЗЫВЫ | ||
| Качество поверхности | Плохая обработка поверхности | Отличное качество поверхности |
| Износ инструмента | Повышенный износ из-за истирания | Минимальный первоначальный износ |
| Стабильность заготовки | Подъемные силы вызывают нестабильность | Отличная фиксация заготовок |
| Совместимость с машинами | Совместимость со старыми машинами | Не подходит для станков с люфтом |
| Фактор риска | Снижение риска вытягивания заготовок | Опасность затягивания заготовки в резец |
| ОПТИМАЛЬНОЕ ПРИМЕНЕНИЕ | ||
| Тип операции | Черновые работы, прерывистые резы | Финишные операции, прецизионная обработка |
| Тип машины | Старые мельницы, ручные машины | Современные станки с ЧПУ, жесткая настройка |
| Пригодность материалов | Твердые материалы, чугун | Алюминий, мягкие стали, прецизионные сплавы |
| Требования к допускам | Стандартные допуски (±0,005″ или меньше) | Жесткие допуски (от ±0,001″ до ±0,002″) |
| Объем производства | Низкий и средний объем | Средние и большие объемы производства |
| КОГДА ВЫБИРАТЬ | ||
| Лучший выбор, когда |
- Машина имеет люфт - Требуется ручная обработка - Прерывистые режущие поверхности - Черновые работы - Безопасность - главная задача |
- Качество поверхности имеет решающее значение - Требуются жесткие допуски - Современное оборудование с ЧПУ - Обработка алюминия - Большие объемы производства |


